
In this article, let's take a look at the step-by-step process for sending an email from the ASP.NET Core app. For this tutorial, we will be creating a new ASP.NET Core WEB API with Microsoft .NET 6 using Visual Studio 2022 and using GMAIL as the SMTP server to send the email.
If you need a tutorial on how to install Visual Studio 2022, you can check it out here.
Step 1 - Create a new ASP.NET Core Web API Application
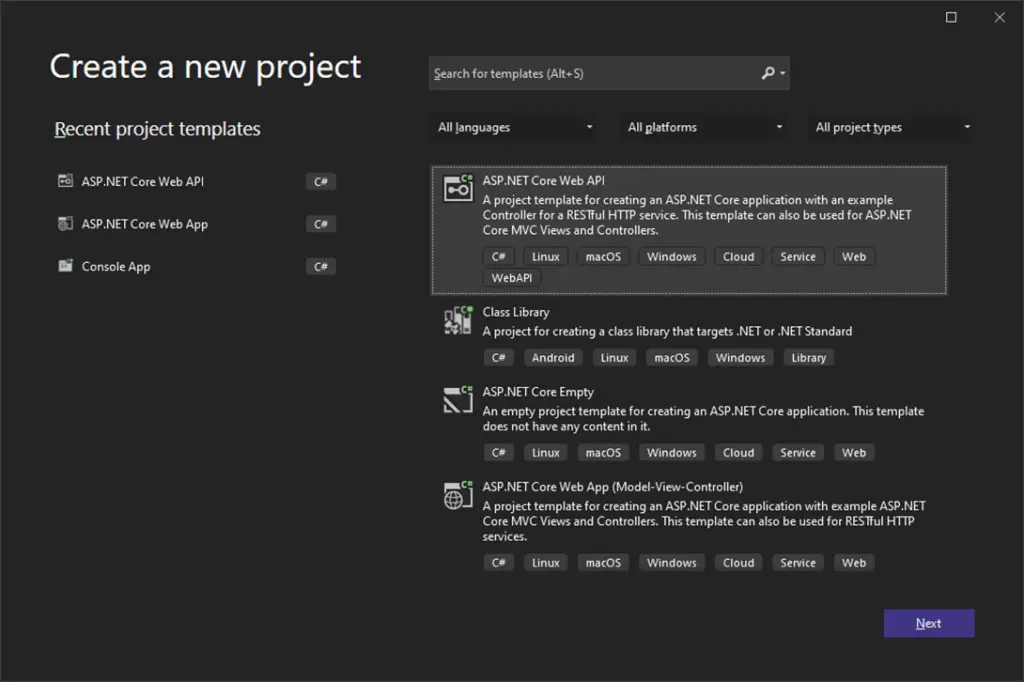
Open Visual Studio, go to File -> New Project. The "Create New Project" wizard will pop up. Now, select ASP.NET Core Web API Template on the right and click "Next".
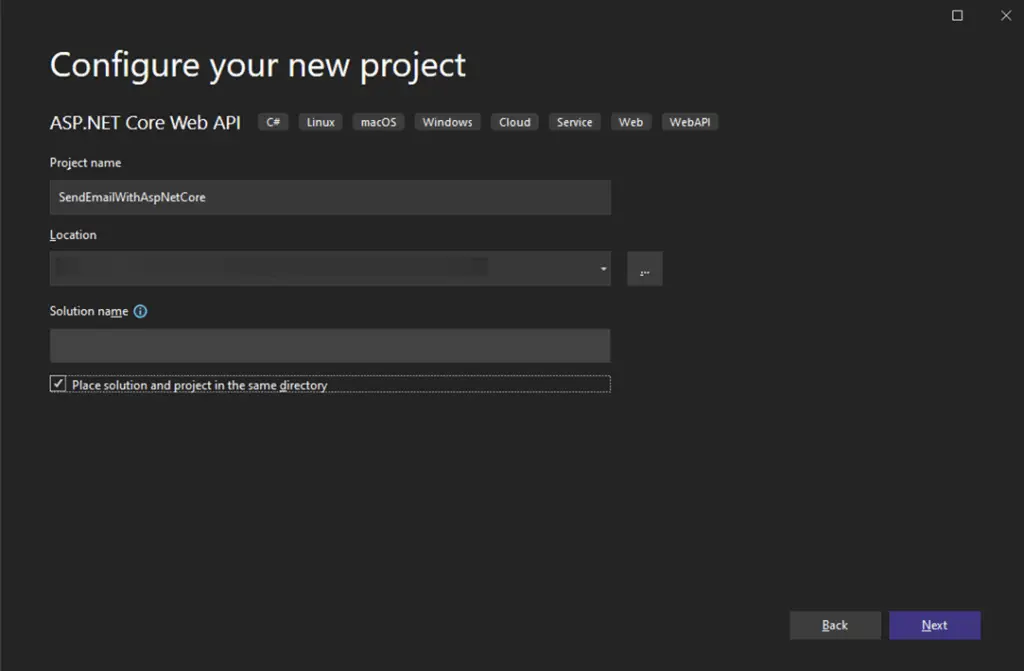
On the next screen, give the name for the project as “SendEmailWithAspNetCore” or anything of your choice. Also, provide the location to save the project and click next.
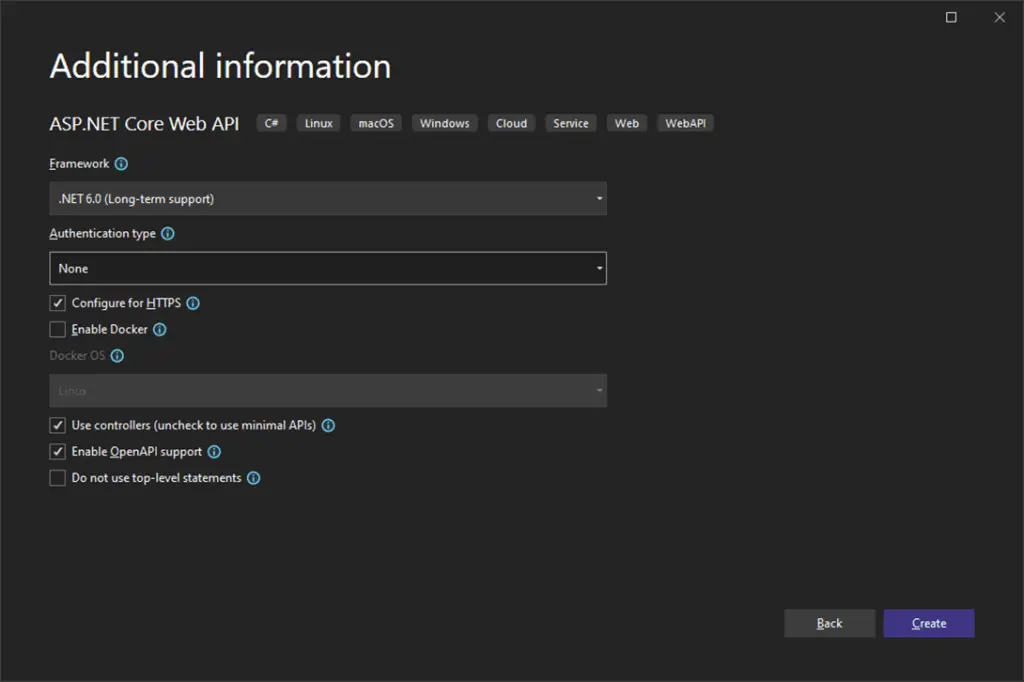
On the next screen, select the framework as “.NET 6.0”. Leave the other settings to default and click on the “Create” button.
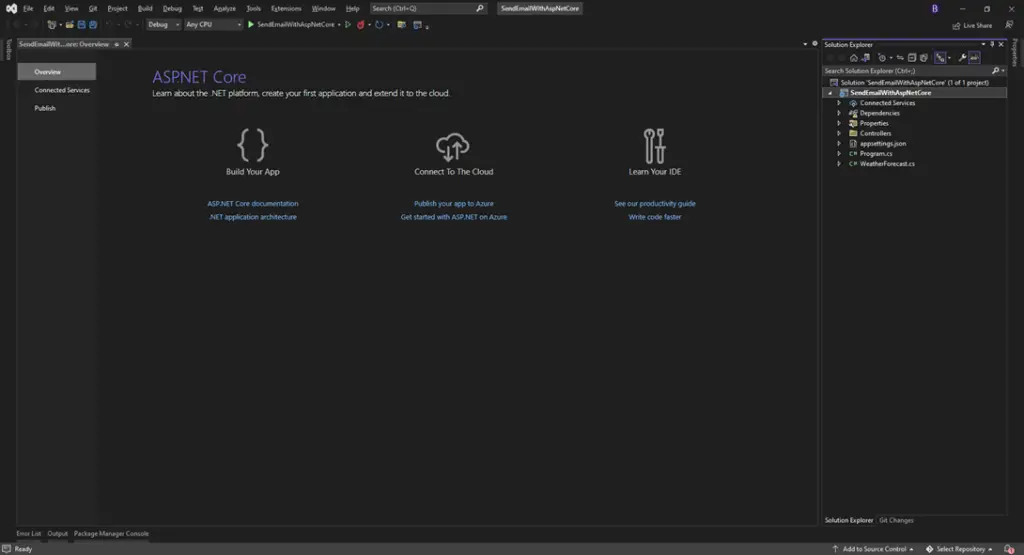
A new project will be created and loaded on your screen as shown below.
Step 2 – Update the appsettings.json file with the SMTP Settings.
To send an email, we need some SMTP settings. We will keep these settings in the “appsettings.json” file so that they can be easily modified later as per our needs without updating the code. Open the appsettings.json file and add the below code.
{
  "Logging": {
    "LogLevel": {
      "Default": "Information",
      "Microsoft.AspNetCore": "Warning"
    }
  },
  "AllowedHosts": "*",
  "SMTP": {
    "Host": "smtp.gmail.com",
    "Port": 587,
    "Email": "*********************@gmail.com",
    "Password": "******************"
  }
}
As you can see above, we added a new section to place the SMTP settings. We need to add the Host, Port, Email, and password. Host and port are used to connect to the SMTP server, in the case of Gmail, we will use the host as “smtp.gmail.com” and port as 587. Use the email address which you need to use for sending the email and the password associated with the email address.
Step 3 – Read Configuration values from appsettings.json using the Options pattern
Since we have to read the SMTP values from appsettings.json, we will use the options pattern to read the values. Options pattern makes it easy to pass the values with dependency injection.
To do this, right-click on the project and add a new folder “Configurations”. In this folder, add a new class, SMTP.cs, and add the below code to it.
namespace SendEmailWithAspNetCore.Configurations
{
    public class SMTP
    {
        public string Host { get; set; }
        public int Port { get; set; }
        public string Email { get; set; }
        public string Password { get; set; }
    }
}
Now open Program.cs and update the code as shown below.
using SendEmailWithAspNetCore.Configurations;

var builder = WebApplication.CreateBuilder(args);

// Add services to the container.

builder.Services.AddControllers();
// Learn more about configuring Swagger/OpenAPI at https://aka.ms/aspnetcore/swashbuckle
builder.Services.AddEndpointsApiExplorer();
builder.Services.AddSwaggerGen();

builder.Services.Configure<SMTP>(builder.Configuration.GetSection(nameof(SMTP)));

var app = builder.Build();

// Configure the HTTP request pipeline.
if (app.Environment.IsDevelopment())
{
    app.UseSwagger();
    app.UseSwaggerUI();
}

app.UseHttpsRedirection();

app.UseAuthorization();

app.MapControllers();

app.Run();
If you see the above code, we have added the line –
builder.Services.Configure<SMTP>(builder.Configuration.GetSection(nameof(SMTP)));
This line of code will read the section from appsettings.json for SMTP and bind it as an instance which we can then pass to any controller, or class using the dependency injection.
Step 4 – Add a new Controller “EmailController”
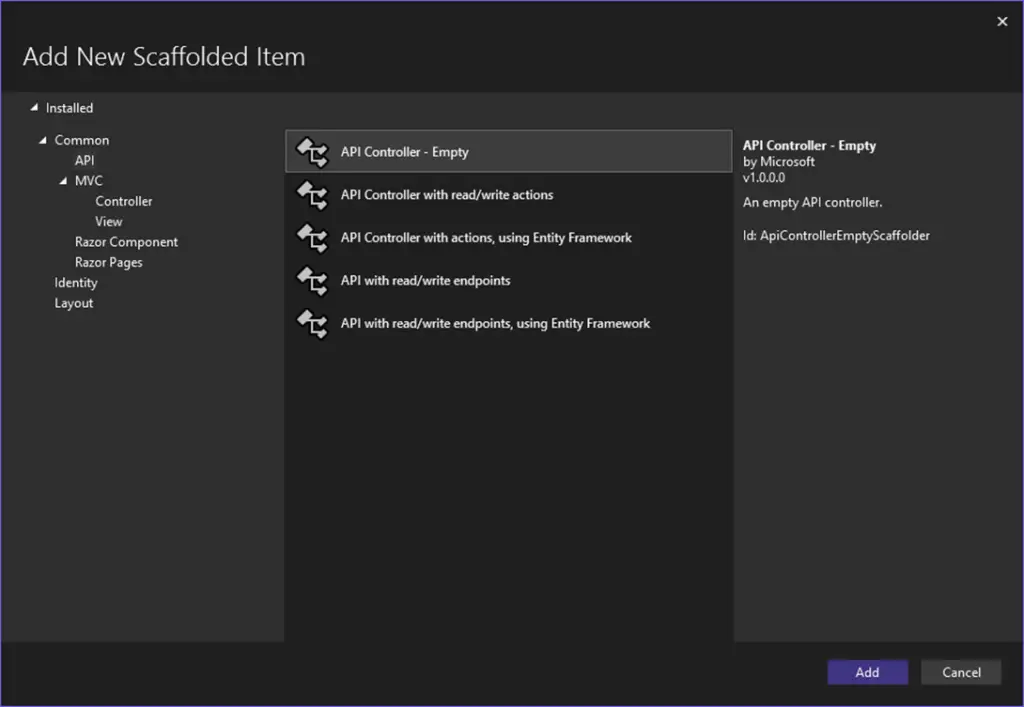
We will now create a new Controller “EmailController”, using which we will expose an API, to send the email. So, right-click on the Controllers folder and select Add New Controller. You will see the “Add New Scaffolded Item” wizard. In this screen select API on the left, select “API Controller – Empty” as the template, and then click on Add button.
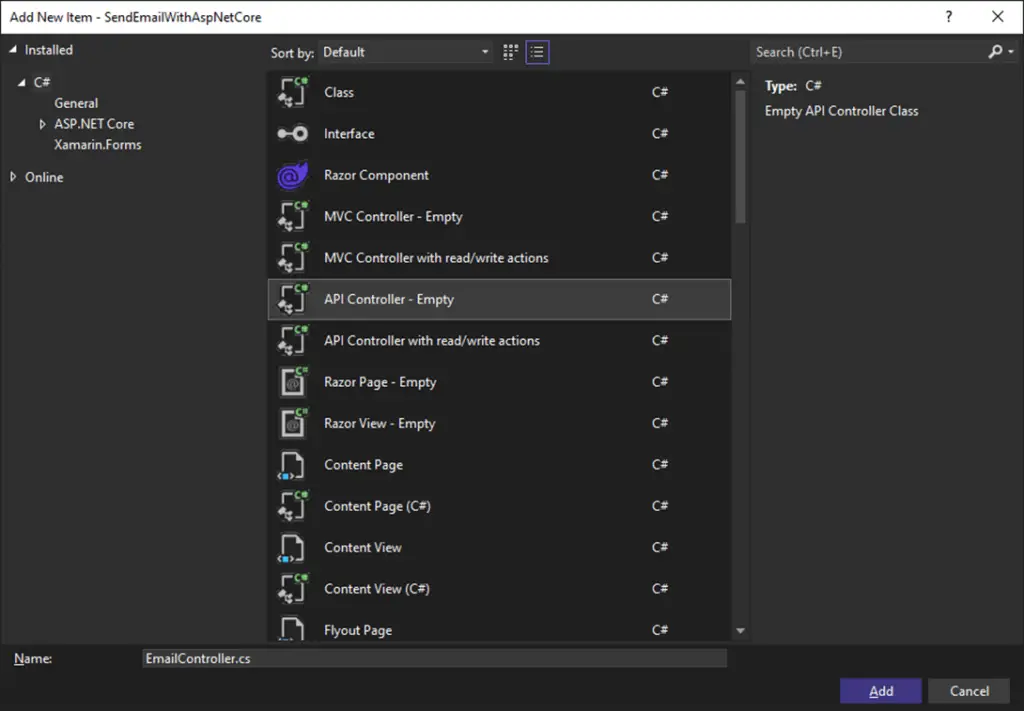
On the Add New Item screen, select API controller – Empty and give the name “EmailController.cs” and click Add.
Step 5 – Add Required DTO classes
Before adding the action to the EmailController, we will need a class that will be used to pass the data into the Actions from the request.
So, let’s create a folder “DTO” in the project and add a new class EmailDto inside it. Add the below code to this class –
namespace SendEmailWithAspNetCore.DTO
{
    public class EmailDto
    {
        public string To { get; set; }
        public string CC { get; set; }
        public string Subject { get; set; }
        public string Body { get; set; }
        public IFormFile Attachment { get; set; }
    }
}
Here we have added 5 properties –
-
To – The email address to which the email needs to be sent.
-
CC – The email address that needs to be kept in the CC of the email.
-
Subject – The subject line for the email.
-
Body – The body for the email.
-
Attachment – Attachment for the email.
Step 6 – Add HttpPost Action SendEmail in EmailController.cs
Now that we have all the configuration and DTO classes in place, let’s add a new action in the EmailController as shown below.
using Microsoft.AspNetCore.Mvc;
using SendEmailWithAspNetCore.DTO;

namespace SendEmailWithAspNetCore.Controllers
{
    [Route("api/[controller]")]
    [ApiController]
    public class EmailController : ControllerBase
    {
        [HttpPost(Name = "SendEmail")]
        public IActionResult SendEmail([FromForm] EmailDto model)
        {
            return Ok();
        }
    }
}
As you can see above, we have added a new action “SendEmail” which will be a POST action. It accepts an input parameter EmailDto whose values will be mapped from the request body.
Since we have already added the code to read SMTP settings in step 3, let’s now inject the SMTP settings into the Email Controller. Update the EmailController.cs with the below code.
using Microsoft.AspNetCore.Mvc;
using Microsoft.Extensions.Options;
using SendEmailWithAspNetCore.Configurations;
using SendEmailWithAspNetCore.DTO;

namespace SendEmailWithAspNetCore.Controllers
{
    [Route("api/[controller]")]
    [ApiController]
    public class EmailController : ControllerBase
    {
        private readonly SMTP _smtpSettings;

        public EmailController(IOptions<SMTP> smtpSettings)
        {
            _smtpSettings = smtpSettings.Value;
        }

        [HttpPost(Name = "SendEmail")]
        public IActionResult SendEmail([FromForm] EmailDto model)
        {
            return Ok();
        }
    }
}
Step 7 – Add logic for the SendEmail POST action.
In the above step, since we have read the SMTP settings, we are now ready to add the logic to send the actual email. Update the Action SendEmail with the code below.
using Microsoft.AspNetCore.Mvc;
using Microsoft.Extensions.Options;
using SendEmailWithAspNetCore.Configurations;
using SendEmailWithAspNetCore.DTO;
using System.Net;
using System.Net.Mail;

namespace SendEmailWithAspNetCore.Controllers
{
    [Route("api/[controller]")]
    [ApiController]
    public class EmailController : ControllerBase
    {
        private readonly SMTP _smtpSettings;

        public EmailController(IOptions<SMTP> smtpSettings)
        {
            _smtpSettings = smtpSettings.Value;
        }

        [HttpPost(Name = "SendEmail")]
        public IActionResult SendEmail([FromForm] EmailDto model)
        {
            try
            {
                using (MailMessage mm = new MailMessage(_smtpSettings.Email, model.To))
                {
                    mm.Subject = model.Subject;
                    mm.Body = model.Body;

                    if (!string.IsNullOrEmpty(model.CC))
                        mm.CC.Add(model.CC);

                    if (model.Attachment != null)
                    {
                        string fileName = Path.GetFileName(model.Attachment.FileName);
                        mm.Attachments.Add(new Attachment(model.Attachment.OpenReadStream(), fileName));
                    }
                    mm.IsBodyHtml = false;
                    using (SmtpClient smtp = new SmtpClient())
                    {
                        smtp.Host = _smtpSettings.Host;
                        smtp.EnableSsl = true;
                        NetworkCredential NetworkCred = new NetworkCredential(_smtpSettings.Email, _smtpSettings.Password);
                        smtp.UseDefaultCredentials = false;
                        smtp.Credentials = NetworkCred;
                        smtp.Port = _smtpSettings.Port;
                        smtp.Send(mm);

                        return Ok("Email Sent Succesfully!");
                    }
                }
            }
            catch (System.Exception ex)
            {
                return BadRequest($"Error Occurred while sending Email: {ex.Message}!");
            }
        }
    }
}
Let’s see what we have done here.
-
As a first step, We have initialized a new instance of MailMessage which takes two arguments, from email and to email. From email will be the email address configured in appsettings.json, and to email will be coming from the request. We are also assigning the other properties of mail messages like Subject, Body, and CC.
-
Then we have added the attachments if present in the request.
-
Then, we initialized a new SMTPClient and passed the host and the port, and called the send method of the SMTP client.
Step 8 – Test the code
We have now completed all the required code. It’s time to test it. To verify the endpoint, we will be using postman.
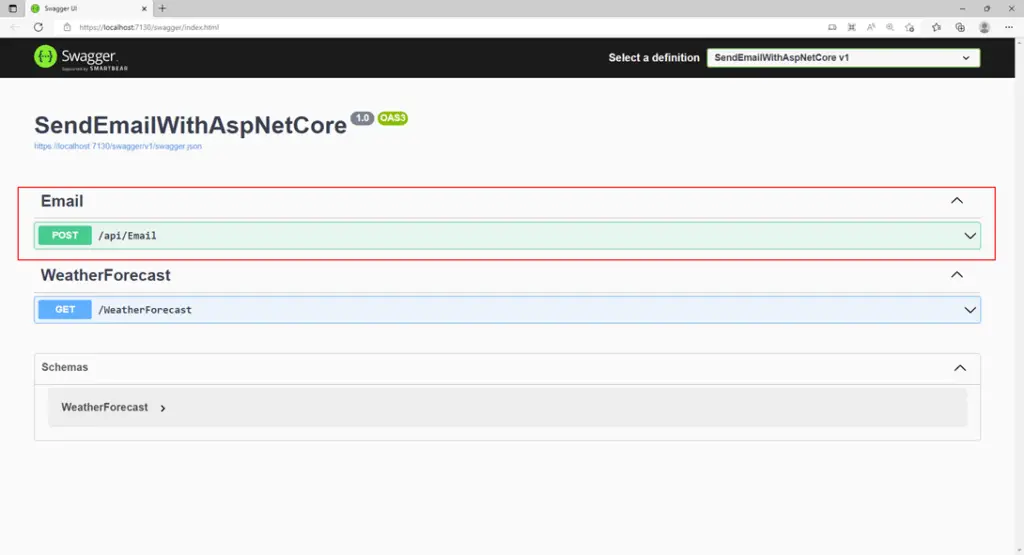
Run the code in visual studio, and you should see the swagger page loaded with our new endpoint.
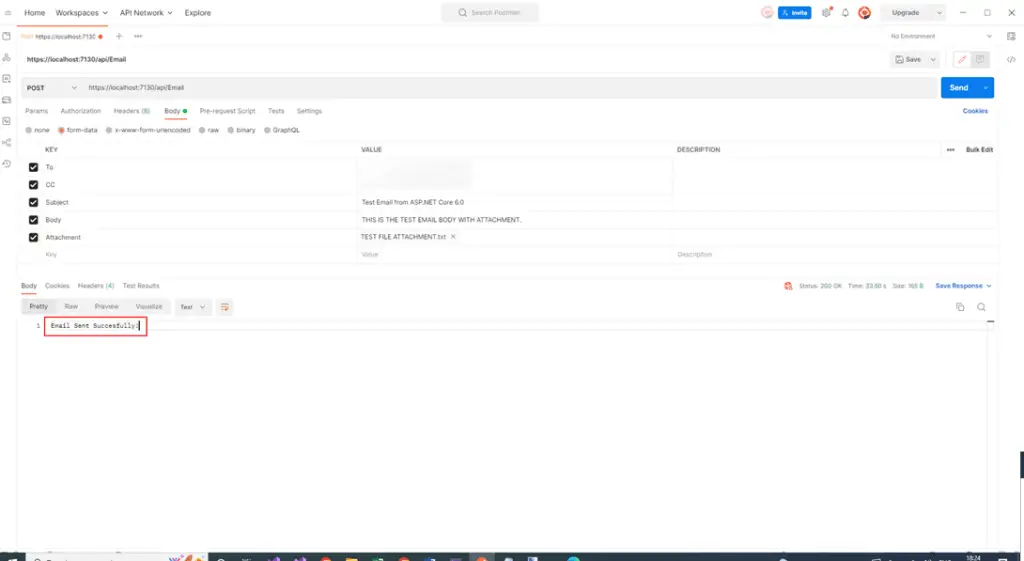
Now open Postman and create a new Post Request as shown below.
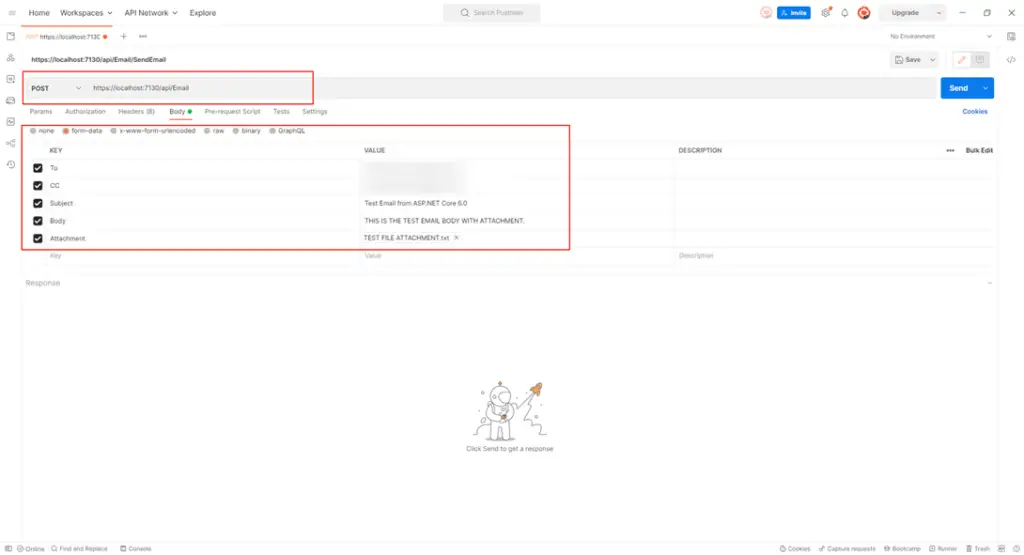
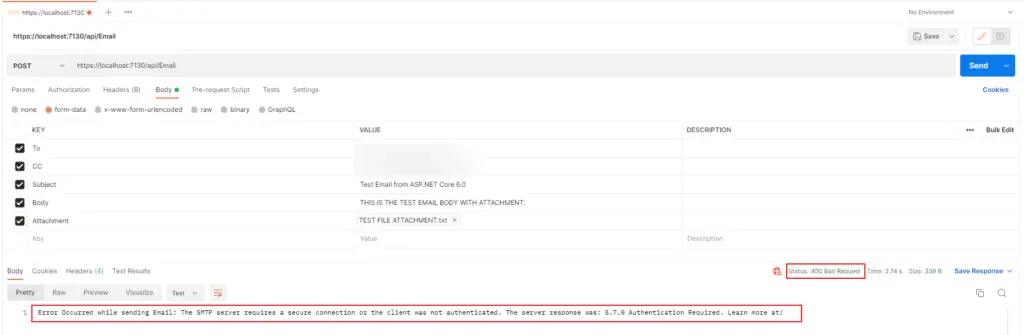
In postman, Add the URL as "https://localhost:7130/api/Email". Add the body as form-data and add all the required fields in the form like TO, CC, Body, Subject, and Attachment and then click on send button.
As soon as you click the send button, you will get a 400 Bad request with an error message “Error Occurred while sending Email: The SMTP server requires a secure connection or the client was not authenticated. The server response was: 5.7.0 Authentication Required.” as shown below.
Don’t worry, this error is expected. The reason we got this error is, that Google blocks the sign-in attempts from some apps or devices that do not use modern security standards. Since these apps and devices are easier to break into, blocking them helps keep your account safer. Also, Google has now disabled the option for allowing less secure sign-in for the apps. So in order to access the email accounts from any app, we need to create a new App Password and we need to use this app password in the app settings. Let’s do this next.
Step 9 – Create an app password in Google account settings.
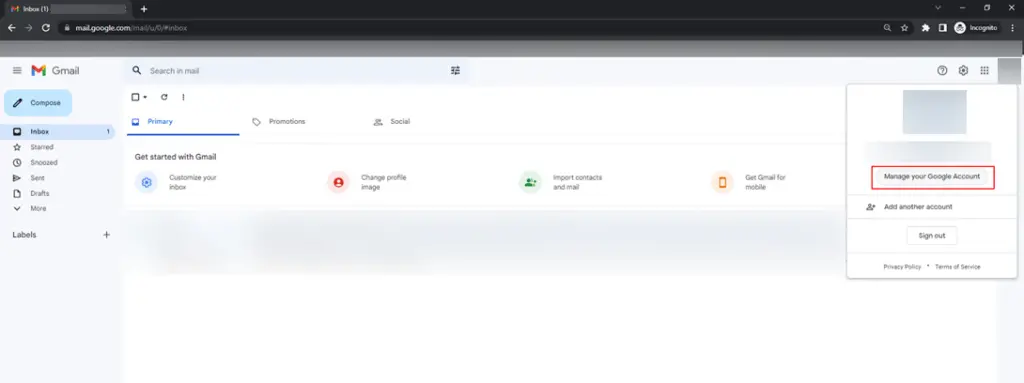
Open Gmail and log in to your Gmail account. Click on the Profile Icon/Picture and click on the “Manage your Google Account” option.
Now go to Security Option on the left and scroll to the “Signing in to Google” section.
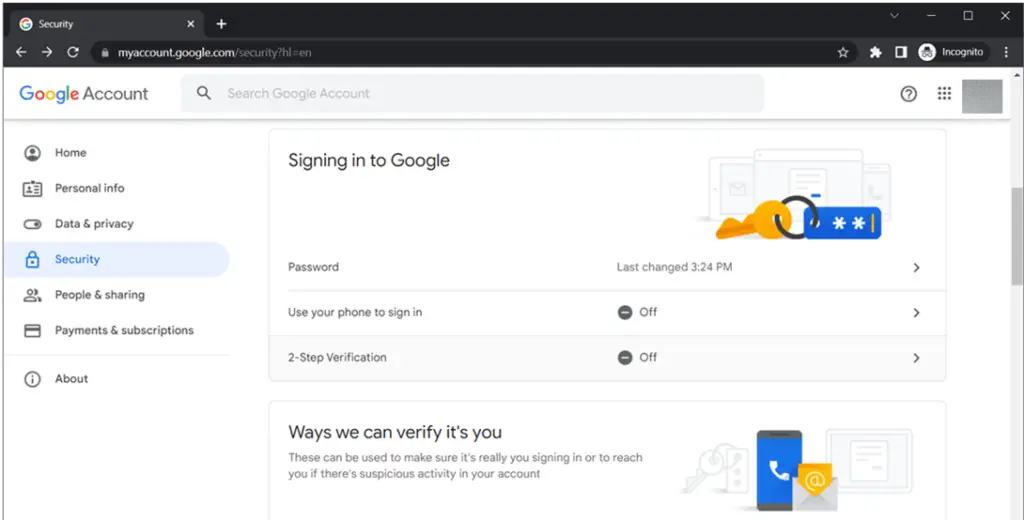
For creating an app password, it is mandatory to turn on the 2-step verification. If 2 Step Verification is not turned on, you will not see the option to create an app password. So click on 2-Step Verification and you will see the below screen.
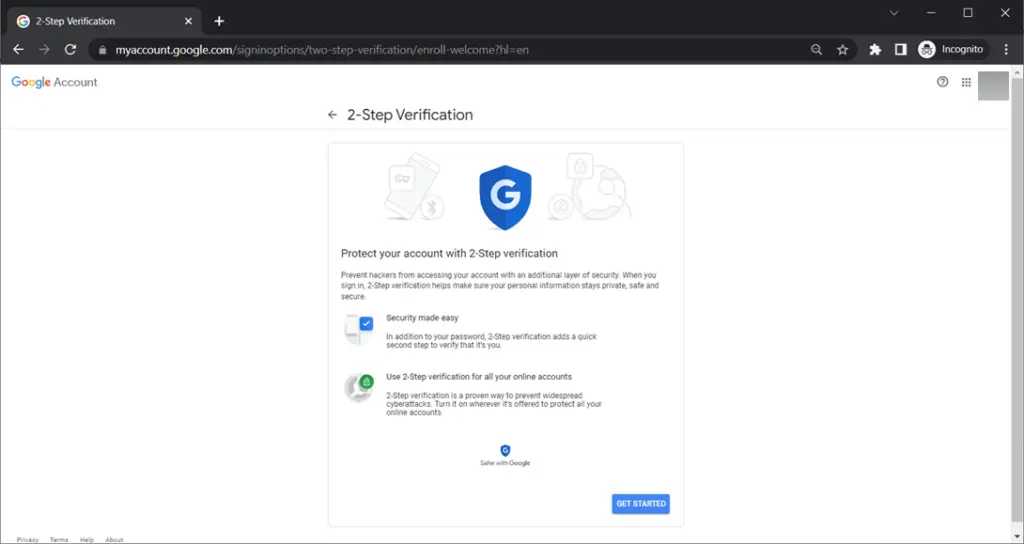
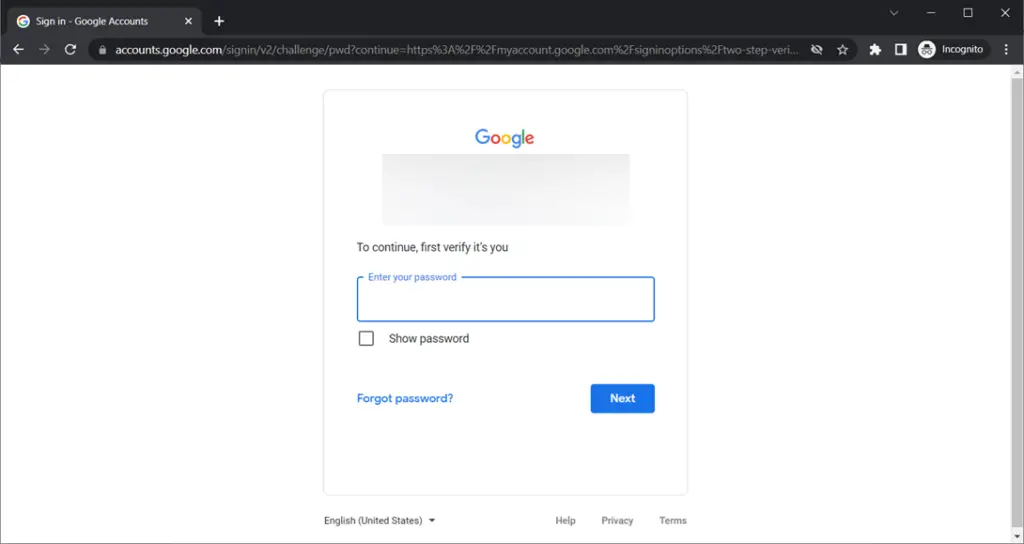
Click on "Get Started". Enter your email account password if it asks for it.
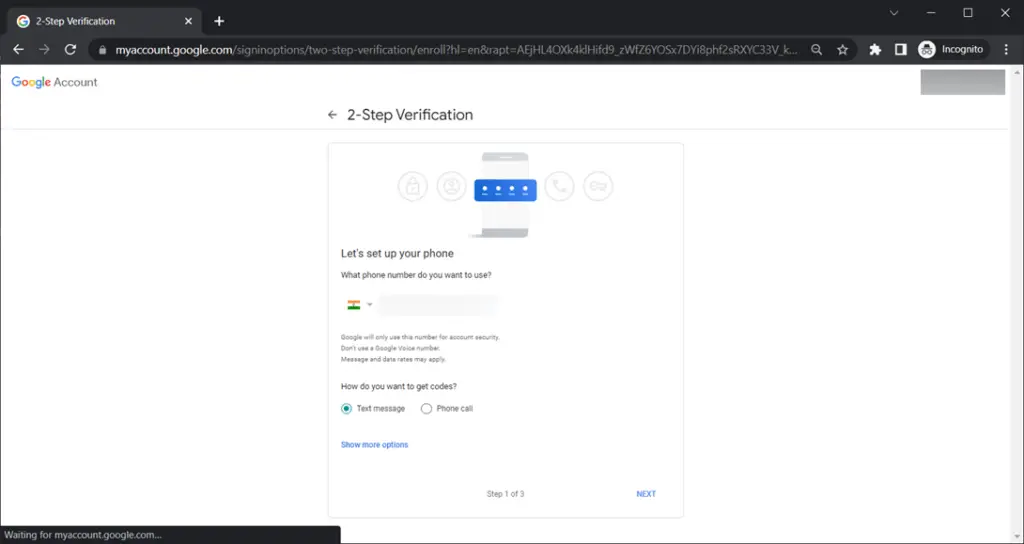
Now enter your mobile number and select the mode to get the codes on your mobile and click next.
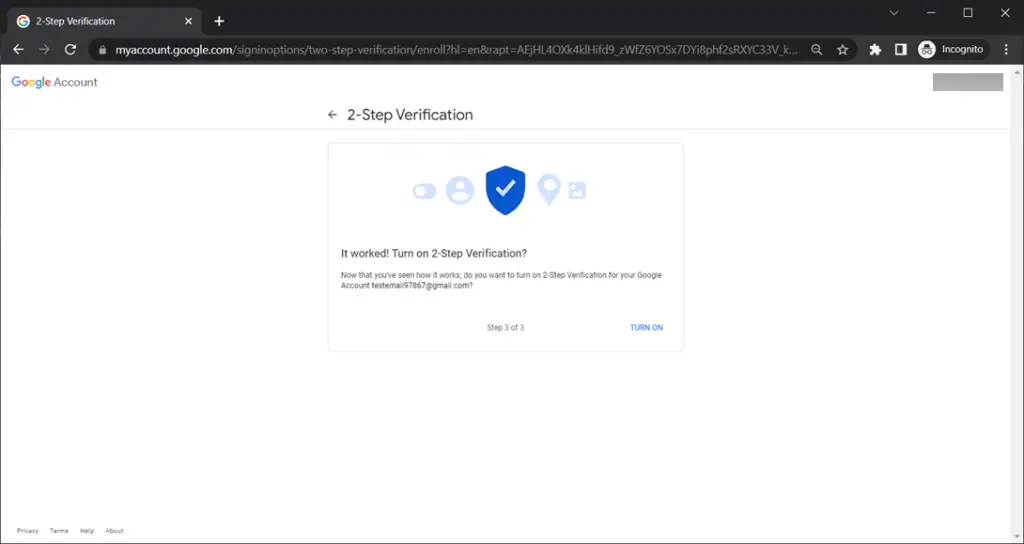
Once the code is validated, you will see the below screen. Click on "Turn ON" button.
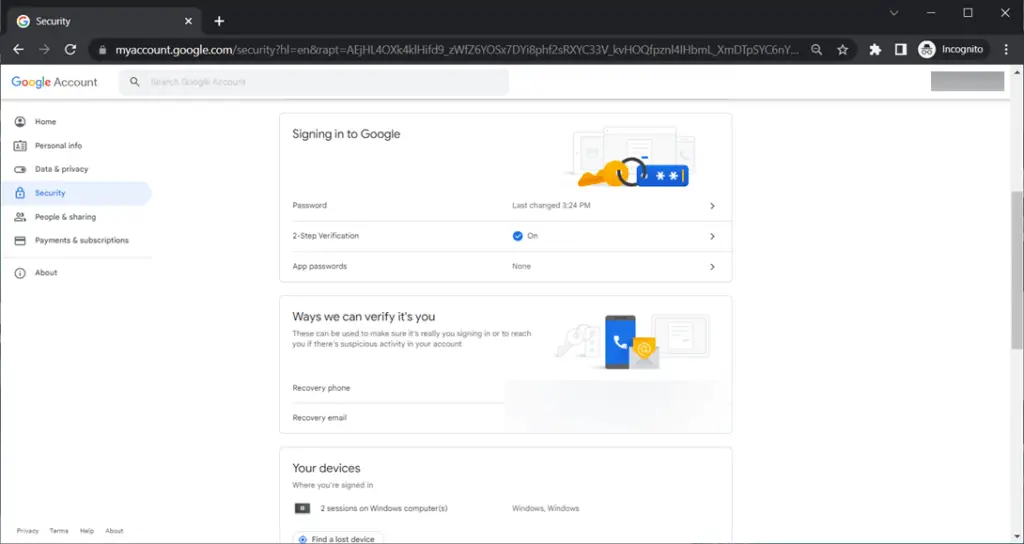
This will turn on the 2-Step Verification for your Gmail account. To verify it, you should now be able to see the option for the App Passwords in the Security section of “Signing in to Google”.
Now we can move on to create app passwords. Click on "App Passwords"
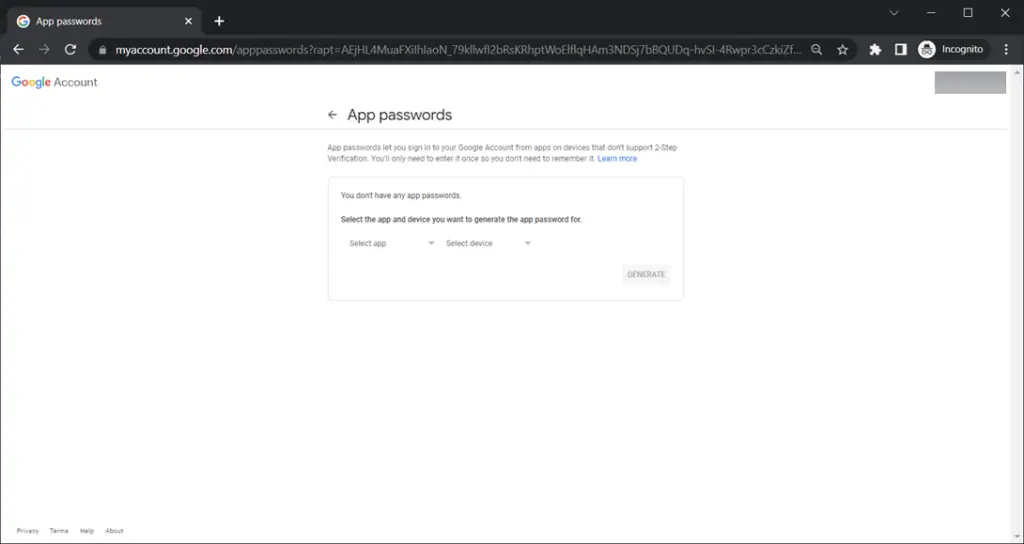
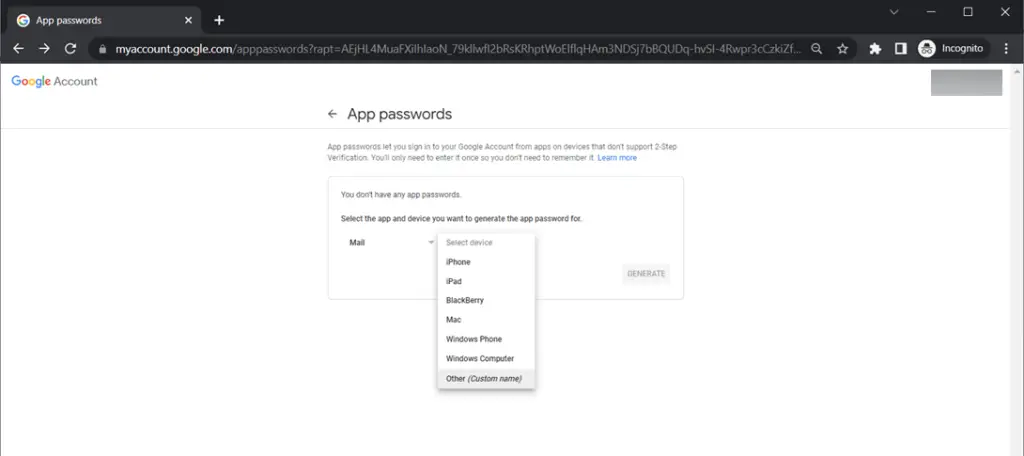
Select Mail in the App and in the Select Device, select Other.
Enter the name of the Website for which we are generating the password as shown below.
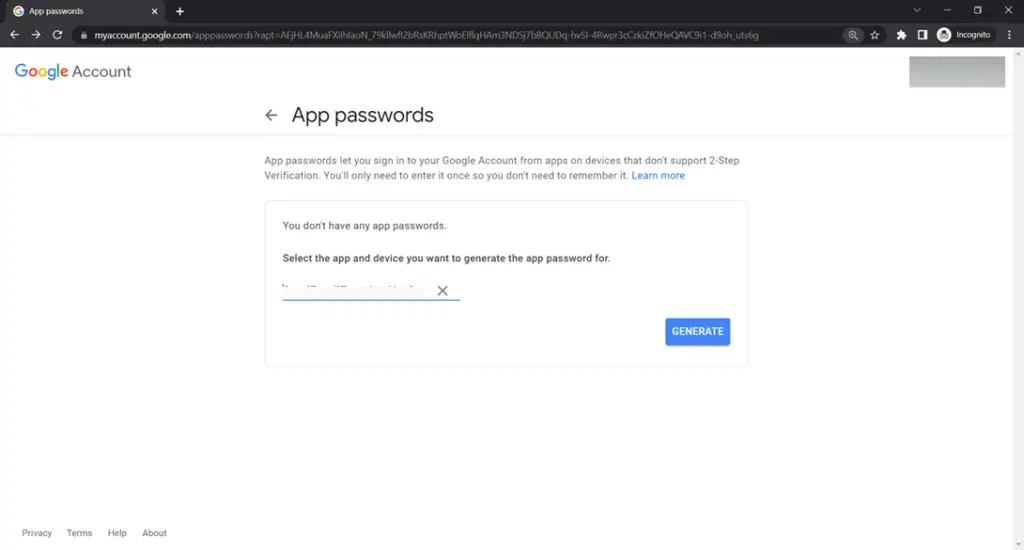
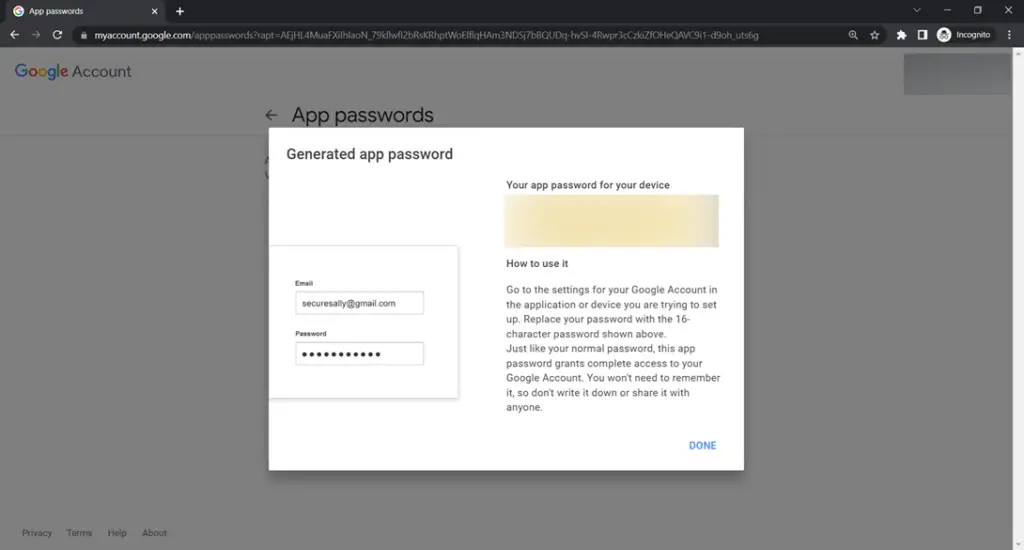
Click on Generate and you should see the password generated. Copy this password and replace into your appsettings.json file, SMTP => Password.
Final Result –
After you updated the app password in appsettings.json, go to postman again and send the request. And now you will get a "200 OK" response with the message “Email Sent Successfully!”
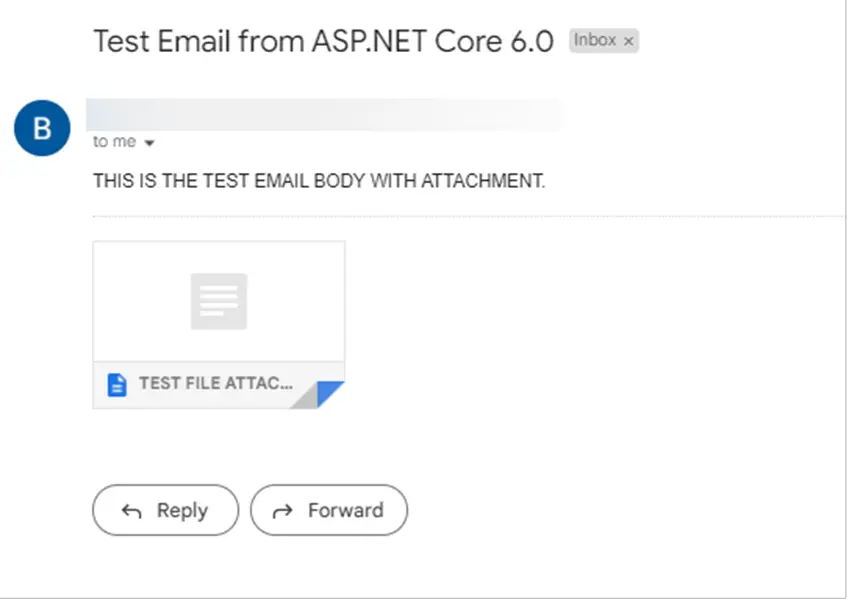
Below is the actual email received!
You can find the code in the GitHub repository here.
I hope you enjoyed this article. Thanks for your time.