
In this article, we will check the detailed step-by-step guide to installing docker on Windows operating system. After the installation is completed, we will also try to pull one docker image and run it on our local docker instance. It’s going to be fun, so stay tuned.
What is Docker?
Docker is a platform on which you can develop, ship, and run your applications. Using docker, you can separate your applications from your infrastructure and deliver the software very fast. Using Docker, it’s easy to manage the infrastructure in the same way as your applications. By taking advantage of Docker’s methodologies for shipping, testing, and deploying code quickly, you can significantly reduce the delay between writing code and running it in production.
You can find more information on docker in the official documentation.
System Requirements
As per the official Docker Documentation, the following requirements are a must for the Windows operating system for the installation of Docker.
WSL2 Backend
For using WSL2 Backend to deploy Linux Containers, the following requirements are needed –
- Windows 11 64-bit Home or Pro version 21H2 or higher, or Enterprise or Education version 21H2 or higher.
- Windows 10 64-bit Home or Pro 21H1 (build 19043) or higher, or Enterprise or Education 20H2 (build 19042) or higher.
- Enable the WSL 2 feature on Windows. For a guide on enabling this feature, you can check Microsoft Documentation.
- Some hardware prerequisites are also needed to successfully run WSL 2 on Windows 10 or Windows 11 –
- 64-bit processor with SLAT (Second Level Address Translation)
- 4GB system RAM
- BIOS-level hardware virtualization support must be enabled in the BIOS settings. You can get more information on Virtualization here.
- Download and install the Linux kernel update package.
Hyper-V Backend
For using the Hyper-V backend to deploy Windows containers, the following requirements are needed –
- Windows 11 64-bit Pro version 21H2 or higher, or Enterprise or Education version 21H2 or higher.
- Windows 10 64-bit Pro 21H1 (build 19043) or higher, or Enterprise or Education 20H2 (build 19042) or higher.
- For Windows 10 and Windows 11 Home, refer to the system requirements in the WSL 2 backend section.
- Hyper-V and Containers Windows features must be enabled.
- Some hardware prerequisites are needed to successfully run Client Hyper-V on Windows 10 –
- 64-bit processor with SLAT (Second Level Address Translation)
- 4GB system RAM
- BIOS-level hardware virtualization support must be enabled in the BIOS settings. You can get more information on Virtualization here.
If all the system requirements are satisfied, we are all set for installation.
Installation Guide
Step 1 – Download Docker Installer
Download the latest version of the Docker Desktop installer from https://docs.docker.com/desktop/install/windows-install/.
Step 2 – Run docker Installer
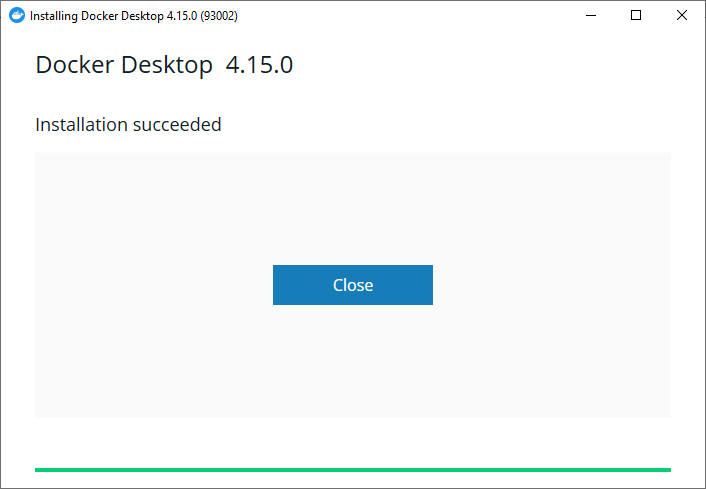
Once it is downloaded, open the installer executable and you should see the below screen –
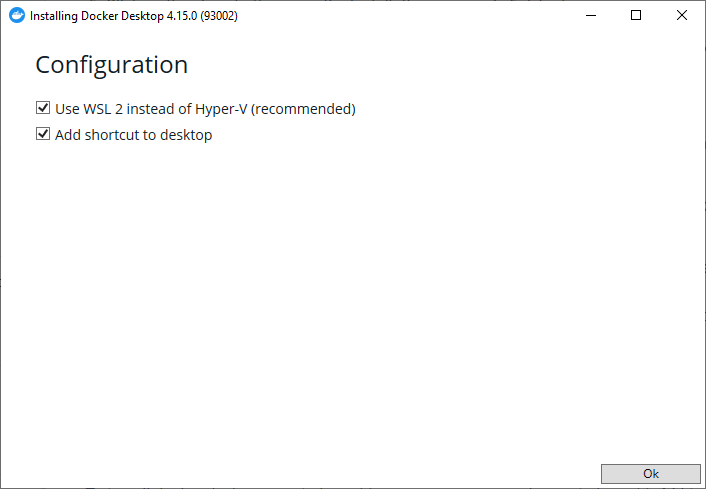
Follow the instructions on the Installation wizard and complete the installation.
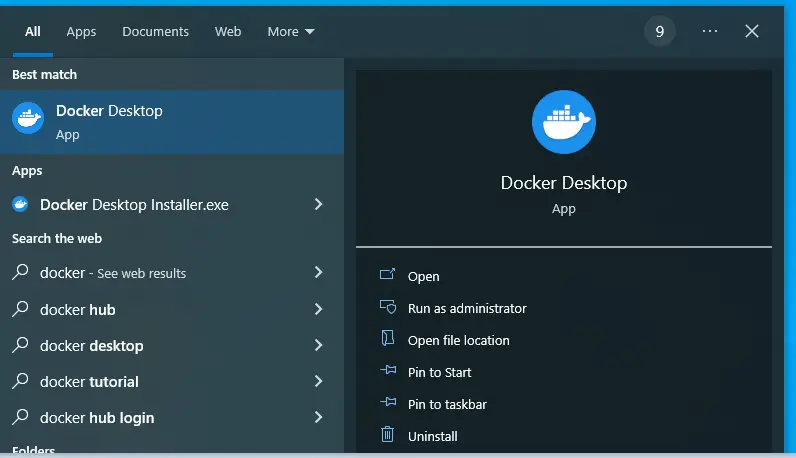
Step 3 – Verify Docker Installation
Now that the installation is complete, open the start menu and type docker, and you will see the “Docker Desktop” in the search Results.
Click on Docker desktop and on the first run it will ask to accept the Service Agreement.
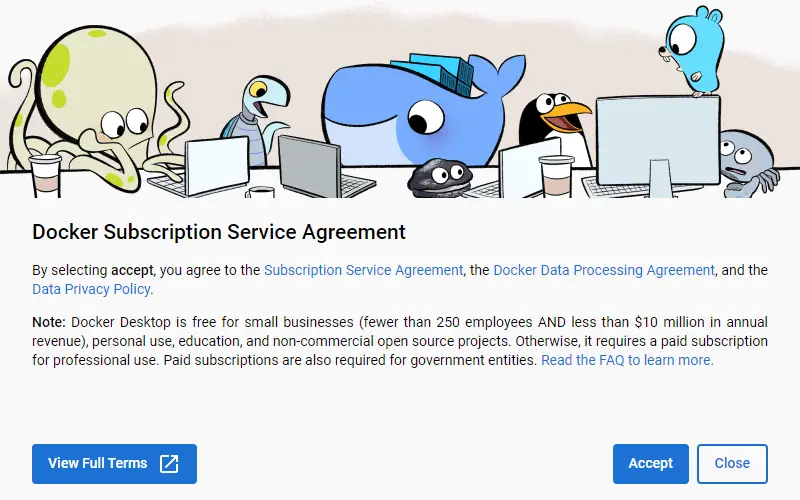
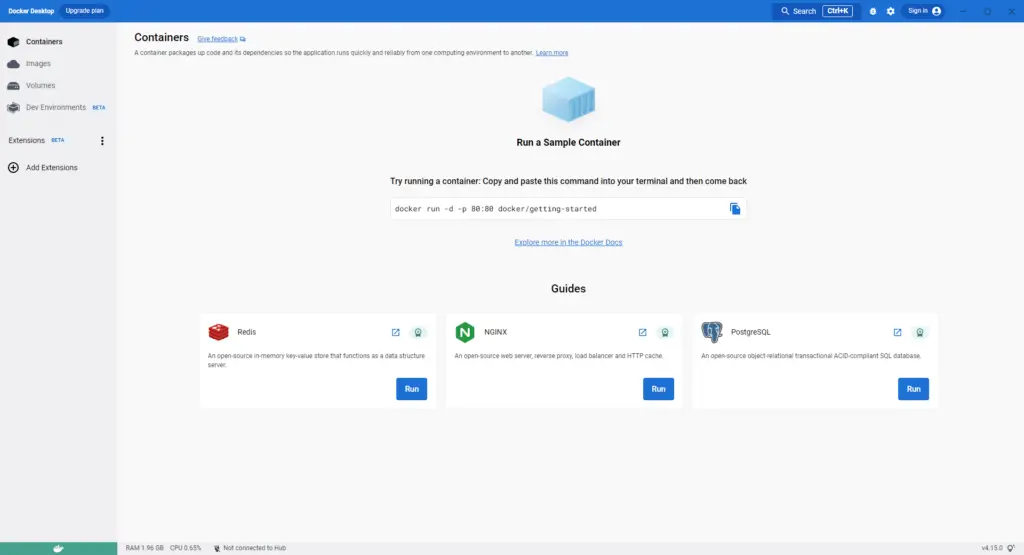
Once you click on accept, the docker desktop window will open. This confirms that docker is installed correctly.
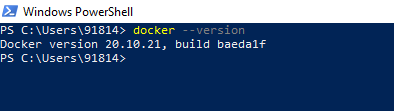
You can also verify the docker installation from Powershell or the command prompt by typing the command “docker --version” and it will display the installed version of docker CLI.
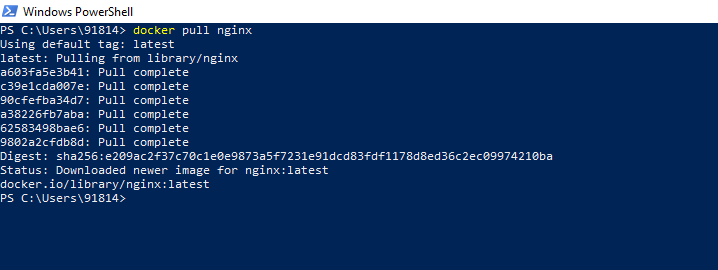
Now we are ready to run our first docker image. Let’s try to pull and run the Nginx web server on docker. For this let’s first pull the latest image of Nginx by typing the command “docker pull nginx“
Now let’s run the Nginx server by typing the command "docker run -it --rm -d -p 8080:80 --name web nginx".

This should start the container on the docker, you can see the container id on the PowerShell screen above.
You should also be able to see the running container in the Docker Desktop application.

Now, navigate to the address “http://localhost:8080/” on your browser and you should see the Nginx page loaded.
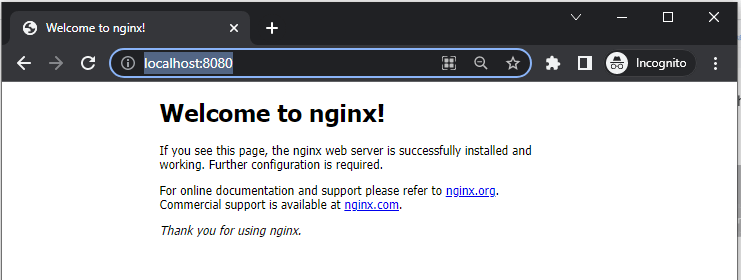
And that’s it, you just have successfully run your first container on docker. You can play around now with different images.
I hope you find this article useful. Thanks for reading this article. Also, check out my other articles for such interesting and practical content, and do share it across.
-
Introduction to Google Colab
Introduction In the rapidly evolving world of Data Science and Machine Learning, we need software which is fast, accessible at the tip of our hand and simple to use. This becomes more important for the people who are beginners. Thankfully, in today’s world of the internet, we have some amazing tools and platforms which makes…
-
Microservices vs. Monolithic Architecture: Which One Fits Better?
Looking for the right architecture for your web app? Learn about the pros and cons of Monolithic vs. Microservices in our in-depth blog post. Read Now!
-
Mastering React State Management: Tips & Tricks
In this blog, we are going to cover State Management in React. State management is the process of maintaining and updating the data or state of a client-side application over time.


One Comment